
Electricity is the most essential thing which can help us to lead our life smoothly. Without electricity you can never put a step forward in your life these days. The growth of a country is dependent on its electricity consumption. But increasing electricity charges day by day is one of the biggest crises for every country. Besides this, the consumption of electricity also increases day by day together with the production cost of electricity. Thus, it is high time to think about the other alternatives of electricity. Solar energy is one of the most important substitutes of electricity. Solar energy is available in abundance and can easily be converted into power, which can help to produce light. It also saves your money since solar power is a renewable source of energy. This article will provide you tip on how you can build a simple solar-powered light.
Difficulty level: Moderate
Time required: Two to three days
Resources required
For making this solar power light at your house, you need only five components.
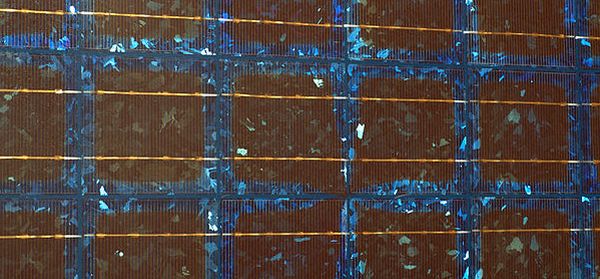
1. Photovoltaic or solar array
2. 12 volt DC-powered lamp
3. Charger controller
4. Connecting lead wires
5. Two fuses
Instructions
1. Attach the photovoltaic array in proper place
For building a outdoor solar-powered light, you must try to place the photovoltaic array in such place where sunlight can reach directly. These arrays transfer the sun rays into power, which can help you further to light up the outdoor area. The photovoltaic cells is capable of providing quite a lot f energy. But make sure that the array is big enough and it should be placed in a proper place.
2. Attach all the wire connections properly
Once you place the array properly, use lead wires to connect the array to the charge controllers, on its two opposite terminals. The charger controller will regulate the process of electricity consumption such as how long the solar battery needs to receive the electricity which is generated by the photovoltaic array. Next, you need to attach one extra wire to the positive terminal of the solar battery and the other portion of this wire should be attached with a fuse. Connect the positive terminal of the battery of the charger controller by means of another lead wire. Follow the similar step and similar material to connect the negative terminal to the negative pole of the charger controller’s battery. Next, you must attach a lead between the charge controllers and the positive terminal of the light and one end of the fuse. Connect the other end of the fuse to the positive terminal of the light. You can apply the same procedure for the negative terminal too.
3. Preset the timing of the controller
After all the above steps are done successfully, next, preset the controller timer so that the battery becomes full charged and the solar power starts getting converted to light energy within a specific time.
4. Fix all the resources to their respective places and get started
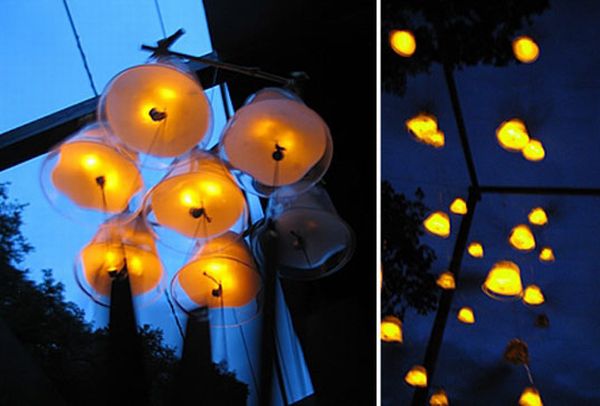
Attach the photovoltaic array on the top of the pole. You can also attach a bulb to the pole, at a sufficient height. Before activating the controller, you must make sure that all the lead wires are connected to their respective points. In this way, you can build a solar-powered light in your garden or outside your house.
Frequently asked questions
1. Is there any risk factor associated with the process?
Ans. As such you will not face any risk. But whey you attach different circuits and wires, you must take some safety precautions so that the risk factor gets minimized.
2. How much quantity of electricity is generated by this arrangement?
Ans. It depends on the size of the photovoltaic array. But usually most of solar systems can generate 20 to 25 volts of electricity. This means you can light up a bulb of 10 to15 watt with convenience.
3. How much sunlight is required to produce solar energy?
Ans. Three to four hours of direct and full sunlight is sufficient to produce the solar energy and this energy gets converted to power, which can help you to lighten up a DC lamp easily.
Quick tips
1. If you do not have enough idea about this project then you must try to take advice from a professional before you start with the job.
2. All the resources required in this project are available in the local market.
Things to watch out for
1. Always avoid shaded and dark places. You must try to place the photovoltaic array in an open place so that sunlight does not get obstructed.
2. You must never try to lighten up lamps of high wattage or heavy motor equipments like fan, water pump, etc. with this arrangement.